
From witches to vampires and ghosts to pumpkins, Halloween is a great occasion to use your creativity and really show off your make-up and beauty skills. And, since we all need help from time to time, we thought we would give you a few tips to nail your Halloween look!
Bloody Claw Nails
Free2Learn
Step 1: Clear the base
Let’s start right! Clean your hands, push the cuticles back and buff your nails lightly.
(If you prefer to do this nail art without acrylic extensions, then skip to step 5)
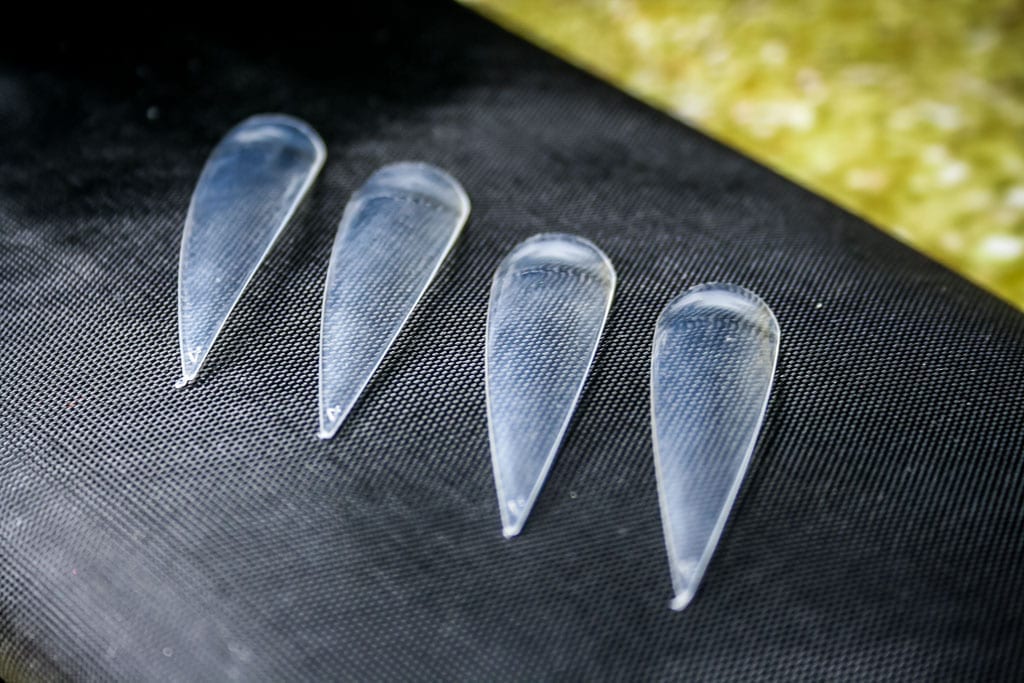
Step 2: The extension
Make sure to choose the right size of extension. It may sound silly, but your fingers are different sizes and you don’t want to have an extension that only covers half of your nail.
Step 3: Stick them on!
Apply the glue to the surface of your nail, and stick on your extensions. Once done, buff again to prepare the surface for paint.
Step 4: Acrylic time
Apply the acrylic from the ‘cuticle’ to the bottom edge of your nail (free edge).
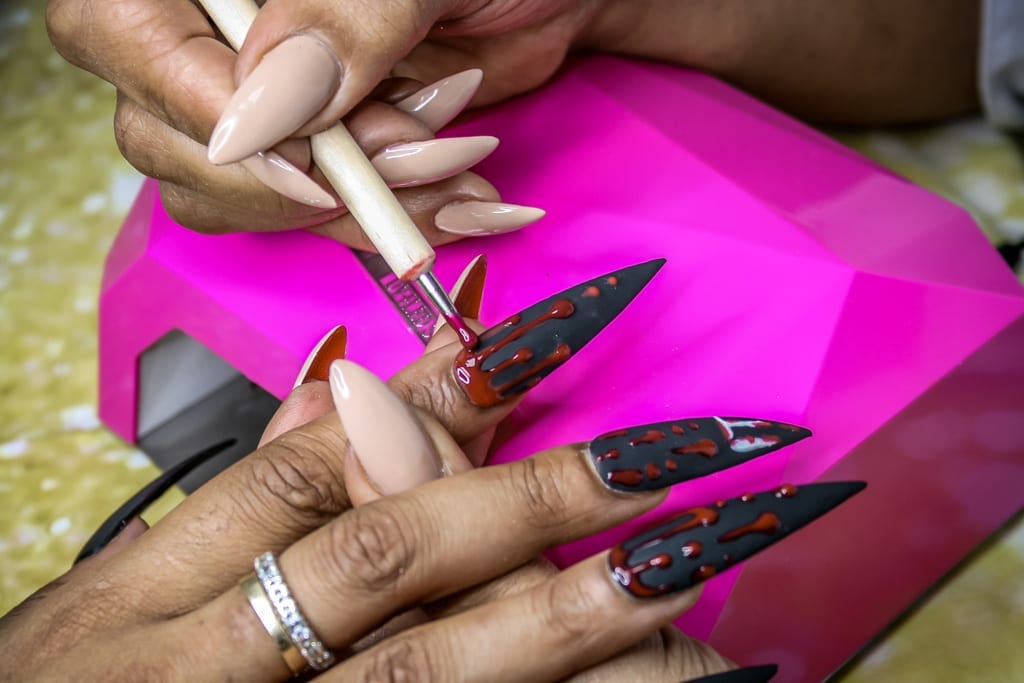
Step 5: Let’s paint!
Apply black nail polish, let it dry and use a matt top coat. From a shiny black, you will have a deep, matt black.


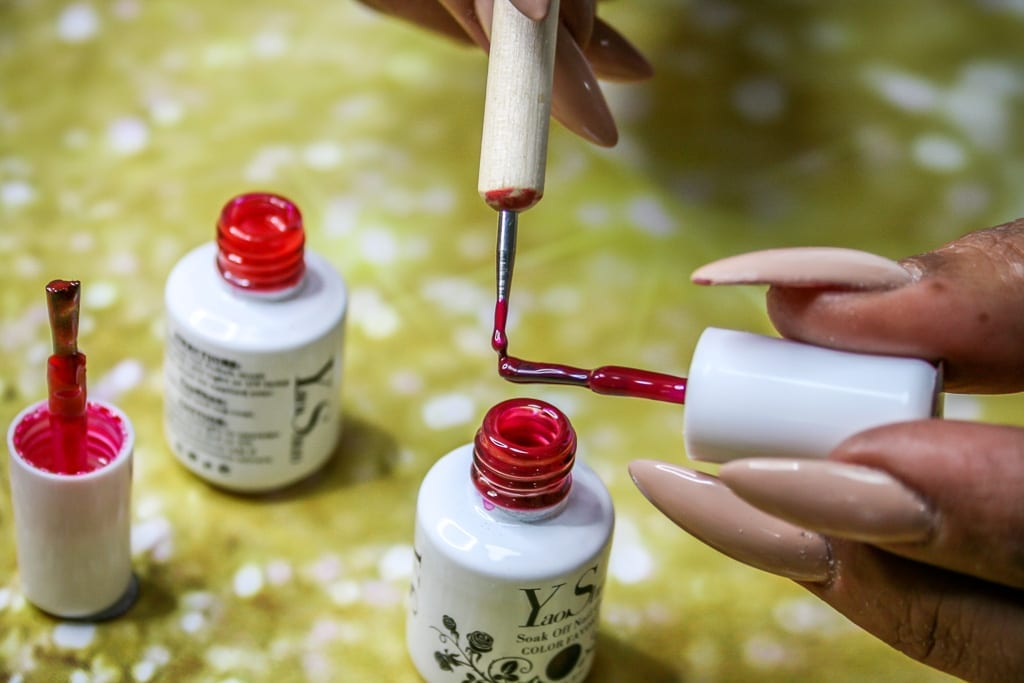
Step 6: Bloody Red
Take the deepest red you can find and start playing around. The best thing to use is a dotting tool or a pick & place tool, alternatively, a toothpick, pencil tip or stick will work perfectly. Create drops with the nail polish and stretch them out, to draw out bloody lines. Do as many as you wish – the only thing holding you back is your imagination.